Home / Blog / Socket.IO connection in Android
Socket.IO connection in Android

By EKbana on January 22, 2022
6m read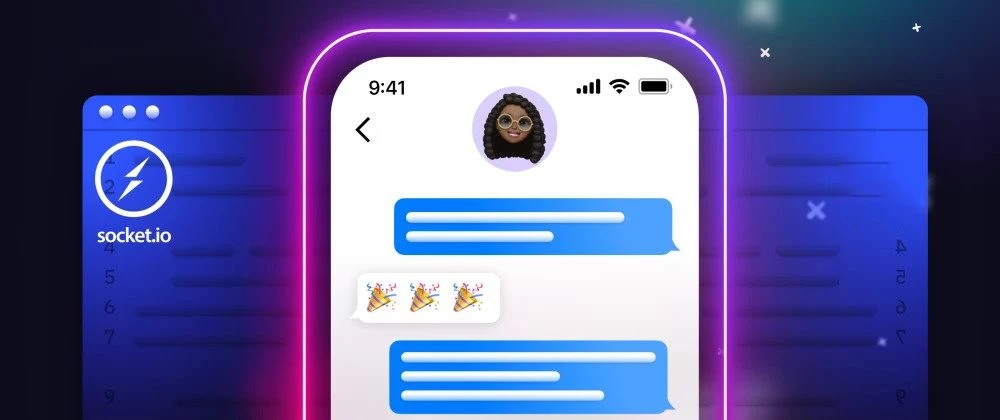
In this blog article, we will learn about Socket.IO connection in Android. First of all, we will need to know what a web socket is.
Web Socket
Web Socket is a protocol that allows for full-duplex (multiway) communication, that is, communication in both ways at the same time. It is a current web technology in which the user's browser (client) and the server maintain a continuous connection. In this sort of connection, both the client and server can send messages to each other without any HTTP requests. For example, It is not recommended to use HTTP calls if you are creating a chatting application or a multiplayer game where a fast response time is required. Instead, with socket programming, we will just send the little data packets required over web sockets.
Socket.IO basics
Coming back to Socket.io, several things are needed to know when using Socket.io for Android.
- Socket.io is event-based. Both the server and the client are emitting events and listening for events from the other. It is similar to setting onClickListener for our button or views in Android.
- A simple HTTP handshake occurs at the start of a Socket.io connection.
Since this article is about Socket.IO connection in Android, not Socket.IO itself, I recommend you to read the official documentation for a better understanding of Socket.io.
Setting up the Android project
The first step is to add dependencies in our build.gradle(app).
 * Note: I suggest using the latest version of socket.Io since there might be some compatibility issues in older versions which might result in frequent connection and disconnection issues.
Furthermore, It is mandatory to include internet permission in the AndroidManifest.xml file since socket connection heavily relies on internet connection.

Project Structure
Let's have a quick look at the project structure. As the below project structure suggests, there are two packages, listener and util which contain SocketListener and SocketUtils classes respectively.
* Note: Project structure can be maintained in any format, however, I suggest using packages for maintaining proper project hierarchy.

SocketListener is the interface to handle incoming events. This interface will be used in SocketUtils class to emit events coming from the server.

SocketUtils is a util class that connects/ disconnects to the server and receives events from the server. Here, IO.socket takes socket Url as a parameter. Note, here I have passed a query in IO.options which only takes a string value. The option is used when the socket is connected initially. Furthermore, socket.on() method takes an event name and a call-back function as a parameter. In the callback function, we listen to the events and send our socket response (if there is any) through the interface i.e. SocketListener functions.


The setupSocketListener() method is used to initialize the socketListener class and removeSocketListener() is used to remove the instance of the socketListener class. Both of these methods are used in the BaseActivity.

The base activity class implements the socket listener class so that all activity can inherit BaseActivity and listen to the events coming from the socket.
 In the onResume() method of BaseActivity, I have called setupSocketListener() method to initialize SocketListener class. Similarly, removeSocketListener() method is called in onPause() method to remove an instance of SocketListener class if the activity goes into a pause state.

Furthermore, connectSocket() method of SocketUtils class is called in onCreate() method of activity. Here, I have checked if the socket is connected and returned from the method if already connected.

Since socket.IO is event-based, we have to send events from the client side so that the server can acknowledge those events and send events back to the client side. The emit() method takes an event name(String), args(data to be sent to socket), and Ack(The acknowledgment to be called) as parameters.
*Note: The Ack parameter is needed only in those cases where you want a more classic request-response API. In socket.IO this feature is named Acknowledgements. You can add a callback as the last argument of the emit() and this callback will be called once the other side acknowledges the event.

The following picture shows the way to emit events to the server side along with the acknowledgment.
*Note: Since, all the emitting and listening to the socket events is done in a background thread, the tasks related to UI such as showing dialogs(as seen in the image below) should be done in the UI thread.

That’s it for the socket.IO connection in Android. Again, it is not mandatory to follow the same project structure as I did. There are multiple ways for socket.IO connection in Android. However, by using base activity and socket util class, code will be more structured, clean, and reusable.